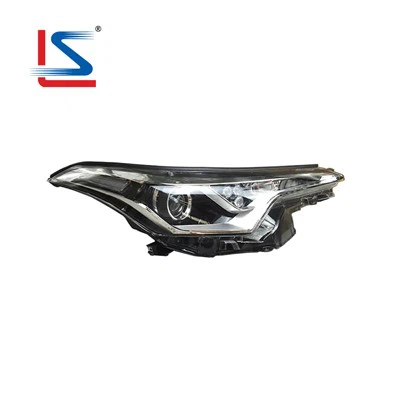
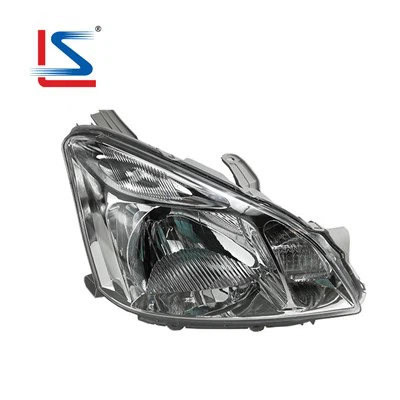
Hey there, car enthusiasts! As a supplier of headlamps for the Toyota ist, I've seen my fair share of dirty and foggy headlamps. A clean headlamp not only makes your car look better but also ensures optimal visibility on the road. In this blog, I'm gonna walk you through the process of cleaning the inside of a Toyota ist headlamp.
Why Clean the Inside of Your Headlamp?
Over time, moisture, dust, and debris can accumulate inside your headlamp. This not only reduces the brightness of your headlights but can also cause the lens to become cloudy or yellowed. Cleaning the inside of your headlamp can restore its clarity and improve your visibility while driving at night.
Tools You'll Need
Before you start cleaning, gather the following tools:
- Screwdriver set
- Cleaning solution (you can use a mild soap and water mixture or a specialized headlamp cleaner)
- Microfiber cloths
- Compressed air canister
- Masking tape
- Plastic bags
Step 1: Remove the Headlamp
The first step is to remove the headlamp from your Toyota ist. This process may vary depending on the year and model of your car, but generally, you'll need to:
- Open the hood of your car and locate the headlamp assembly.
- Use a screwdriver to remove the bolts or screws that hold the headlamp in place.
- Disconnect the electrical connector from the back of the headlamp.
- Carefully remove the headlamp from the car.
Step 2: Disassemble the Headlamp
Once you've removed the headlamp from the car, you'll need to disassemble it to access the inside. Here's how:


- Use a screwdriver to remove the screws or clips that hold the headlamp lens in place.
- Carefully separate the lens from the housing. Be gentle to avoid cracking or damaging the lens.
- Remove the bulb from the headlamp. Make sure to handle the bulb carefully, as it can be fragile.
Step 3: Clean the Inside of the Headlamp
Now that you've disassembled the headlamp, it's time to clean the inside. Here's what you need to do:
- Use a compressed air canister to blow out any loose dust or debris from the inside of the headlamp.
- Mix a mild soap and water solution or use a specialized headlamp cleaner. Dip a microfiber cloth into the cleaning solution and gently wipe the inside of the headlamp housing and lens.
- Pay special attention to any areas that are particularly dirty or cloudy. You may need to use a little extra pressure or a soft-bristled brush to remove stubborn stains.
- Rinse the headlamp housing and lens with clean water to remove any soap residue.
- Use a clean microfiber cloth to dry the headlamp thoroughly. Make sure there's no moisture left inside the headlamp.
Step 4: Seal the Headlamp
After cleaning, it's important to seal the headlamp to prevent moisture and debris from getting inside again. Here's how:
- Apply a thin layer of silicone sealant around the edge of the headlamp housing.
- Carefully place the lens back onto the housing and press it firmly into place.
- Use masking tape to hold the lens in place while the sealant dries. Make sure the tape is applied evenly to prevent any gaps.
- Let the sealant dry according to the manufacturer's instructions. This may take several hours or overnight.
Step 5: Reassemble and Install the Headlamp
Once the sealant has dried, it's time to reassemble and install the headlamp back onto your Toyota ist. Here's what you need to do:
- Reconnect the electrical connector to the back of the headlamp.
- Carefully place the headlamp back into the car and align it with the mounting holes.
- Use a screwdriver to tighten the bolts or screws that hold the headlamp in place.
- Repeat the process for the other headlamp if necessary.
Step 6: Test the Headlights
After reinstalling the headlamps, it's important to test the headlights to make sure they're working properly. Turn on your car's headlights and check the brightness and alignment. If you notice any issues, double-check the installation and make any necessary adjustments.
Tips and Tricks
- If you're having trouble removing the headlamp, consult your car's owner's manual or a professional mechanic.
- When cleaning the headlamp, avoid using abrasive materials or harsh chemicals, as these can damage the lens.
- If the headlamp lens is severely scratched or damaged, you may need to replace it. Check out our Toyota Hiace H300 (2019) OEM Front Headlight Assembly – Wholesale & Export Supply or Toyota Lexus IS / RS / Altezza 1998–2005 OEM Front Headlight Assembly – Wholesale & Export for replacement options.
- To prevent moisture from accumulating inside the headlamp in the future, you can install a moisture absorber or use a headlamp sealant.
Conclusion
Cleaning the inside of your Toyota ist headlamp is a relatively simple process that can make a big difference in your visibility while driving. By following these steps and using the right tools, you can restore the clarity of your headlamp and keep your car looking its best.
If you're interested in purchasing high-quality headlamps for your Toyota ist or other Toyota models, we're here to help. We offer a wide range of OEM headlamp assemblies at competitive prices. Whether you need a replacement for a damaged headlamp or want to upgrade your car's lighting, we've got you covered. Check out our TOYOTA Yaris Vitz Hatchback NCP92 2005-2009 Auto Lamp and other products on our website.
If you have any questions or want to discuss your procurement needs, feel free to reach out. We're always happy to assist you in finding the right headlamp solutions for your Toyota ist.
References
- General automotive repair knowledge and experience
- Manufacturer's instructions for headlamp removal and cleaning