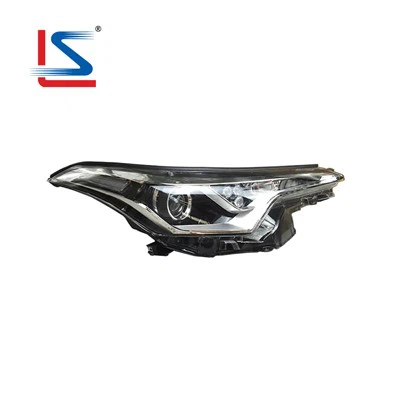
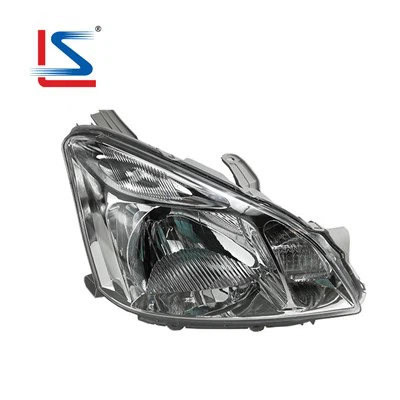
Hey there! As a supplier of Allion 2007 headlamps, I know how important it is to test these headlamps before installation. It not only ensures the quality of the product but also guarantees the safety of the vehicle's users. So, let's dive into how to test the Allion 2007 headlamp before you actually install it.
Initial Visual Inspection
The first step in testing the Allion 2007 headlamp is a thorough visual inspection. Start by looking at the exterior of the headlamp. Check for any cracks, scratches, or other visible damages. Even a small crack can lead to water ingress, which will eventually damage the internal components of the headlamp and reduce its lifespan. Also, make sure the lens is clear and free from any discoloration or cloudiness, as this can affect the light output.
Check the mounting points of the headlamp. They should be intact and free from any deformation. If the mounting points are damaged, the headlamp might not fit properly on the vehicle, which could lead to alignment issues. And it goes without saying that a misaligned headlamp can reduce visibility and pose a safety risk.
Electrical Connection Check
Next, we need to focus on the electrical connections. The Allion 2007 headlamp relies on a proper electrical connection to function correctly. First, check the wiring harness that comes with the headlamp. Look for any signs of fraying, cuts, or loose connections. A damaged wiring harness can cause intermittent lighting problems or even prevent the headlamp from working at all.
Once you've inspected the wiring harness, it's time to test the electrical connectors. Make sure they are clean and free from any corrosion. You can use a wire brush or some electrical contact cleaner to clean the connectors if necessary. When you plug in the connector to a power source, you should hear a solid click, indicating a good connection.
Light Functionality Test
Now, let's test the actual light functionality. For this test, you'll need a power source. You can use a car battery or a power supply specifically designed for testing automotive electrical components. Connect the headlamp to the power source following the correct polarity. The positive terminal of the power source should be connected to the positive wire of the headlamp, and the negative terminal to the negative wire.
When you turn on the power, the headlamp should light up. Check both the low - beam and high - beam functions. If the headlamp doesn't light up at all, there could be a problem with the bulb, the wiring, or the internal circuitry of the headlamp. Try replacing the bulb first, as it's the simplest and most common fix. If the bulb is fine, then you might need to further investigate the wiring or the headlamp itself.
Also, pay attention to the light pattern. The light should be evenly distributed and focused. A distorted or uneven light pattern can reduce visibility and cause glare for other drivers on the road. You can test the light pattern by shining the headlamp on a wall or a flat surface at a reasonable distance.
Beam Alignment Test
Beam alignment is crucial for the proper functioning of the headlamp. A misaligned beam can blind other drivers or leave dark spots in your own field of vision. To test the beam alignment, you'll need a flat and vertical surface, like a garage door or a wall. Park the car on a level ground about 10 - 15 feet away from the surface.


Turn on the headlamps and mark the center of the low - beam and high - beam patterns on the wall. The center of the low - beam pattern should be slightly lower than the horizontal centerline of the headlamp and should be aimed straight ahead or slightly towards the right (in countries where vehicles drive on the right side of the road). The high - beam pattern should be centered and brighter, providing maximum forward visibility.
If the beam is misaligned, you may need to adjust the headlamp using the adjustment screws provided on the headlamp assembly. Most Allion 2007 headlamps have horizontal and vertical adjustment screws that allow you to fine - tune the beam alignment.
Durability and Vibration Test
Even if the headlamp passes all the above tests, it still needs to withstand the rigors of daily use. To simulate the real - world conditions, you can perform a simple vibration test. You can gently shake the headlamp while it's connected to the power source and check if the light remains stable. If the light flickers or goes out during the vibration test, there could be a loose connection inside the headlamp.
You can also try slightly tapping the headlamp to see if there are any internal components that are not properly secured. A well - built headlamp should be able to withstand a certain amount of vibration without any issues.
Other Related Products
If you're interested in other Toyota headlamp products, we also offer a wide range of options. You can check out our Toyota Wish 2012 - 2018 Headlamp Assembly – Wholesale OEM Replacement, Toyota Reiz 2010 OEM Car Head - Lamp Assembly – Wholesale Supply & Export - Ready, and TOYOTA WISH 2003 2004 Head Lamp Car Lamp 81130 - 68010 81170 - 68010 81150 - 68010 81110 - 68010 UA - ZNE14G WISH Headlight.
Contact for Purchase
If you're interested in our Allion 2007 headlamps or any of our other products, don't hesitate to reach out for a purchase negotiation. We're always ready to offer you high - quality products and excellent service.
References
- Automotive Lighting Handbook.
- Toyota Allion 2007 Service Manual.