Installing 2008 Camry headlights can seem like a daunting task, but with the right guidance and a bit of patience, it can be a straightforward DIY project. As a trusted supplier of 2008 Camry headlights, I've helped numerous customers through this process. In this blog post, I'll walk you through the step-by-step procedure to install 2008 Camry headlights, ensuring you can get your vehicle back on the road with optimal lighting.


Tools and Materials You'll Need
Before you begin the installation process, gather the following tools and materials:
- New 2008 Camry headlights
- Socket wrench set
- Phillips head screwdriver
- Flathead screwdriver
- Safety glasses
- Gloves
Step 1: Prepare Your Vehicle
First and foremost, ensure your vehicle is parked on a flat, stable surface, and the engine is turned off. Engage the parking brake and open the hood to access the headlight assembly. It's also a good idea to put on your safety glasses and gloves to protect yourself during the installation process.
Step 2: Remove the Old Headlights
The next step is to remove the old headlights from your 2008 Camry. Here's how you can do it:
- Locate the retaining bolts or screws that hold the headlight assembly in place. These are typically located at the top, bottom, or sides of the assembly.
- Use the appropriate socket wrench or screwdriver to loosen and remove the retaining bolts or screws. Set them aside in a safe place to avoid losing them.
- Once the retaining bolts or screws are removed, gently pull the headlight assembly forward to detach it from the vehicle. Be careful not to tug too hard, as there may still be electrical connections attached.
- Locate the electrical connector that connects the headlight to the vehicle's wiring harness. Press the release tab on the connector and gently pull it apart to disconnect the headlight.
Step 3: Install the New Headlights
Now that you've removed the old headlights, it's time to install the new ones. Follow these steps:
- Take the new 2008 Camry headlights and align them with the mounting holes on the vehicle. Make sure the headlights are positioned correctly and fit snugly into place.
- Reconnect the electrical connector to the new headlight. Ensure the connector is securely attached and there are no loose connections.
- Insert the retaining bolts or screws back into their respective holes and tighten them using the socket wrench or screwdriver. Make sure the bolts or screws are tightened securely, but be careful not to overtighten them, as this could damage the headlight assembly or the vehicle's body.
Step 4: Test the Headlights
After installing the new headlights, it's important to test them to ensure they are working properly. Here's how you can do it:
- Close the hood of your vehicle and turn on the ignition.
- Switch on the headlights and check if both the low beam and high beam functions are working correctly. If the headlights are not working, double-check the electrical connections and make sure they are secure.
- If the headlights are working properly, turn them off and open the hood again to make any final adjustments if necessary.
Step 5: Finalize the Installation
Once you've tested the headlights and confirmed they are working properly, it's time to finalize the installation. Here's what you need to do:
- Make sure all the retaining bolts or screws are tightened securely and the headlight assembly is properly aligned.
- Check the headlight aim to ensure the beams are pointed in the correct direction. You may need to adjust the headlight aim using the adjustment screws located on the headlight assembly.
- Clean the headlights with a soft cloth to remove any fingerprints or smudges.
Additional Tips and Considerations
- If you're unsure about any step of the installation process, it's always a good idea to consult your vehicle's owner's manual or seek professional assistance.
- When handling the new headlights, avoid touching the glass surface with your bare hands, as the oils from your skin can cause the headlights to burn out prematurely.
- Consider upgrading to LED headlights for improved visibility and energy efficiency. LED headlights offer brighter illumination, longer lifespan, and lower power consumption compared to traditional halogen headlights.
Related Products
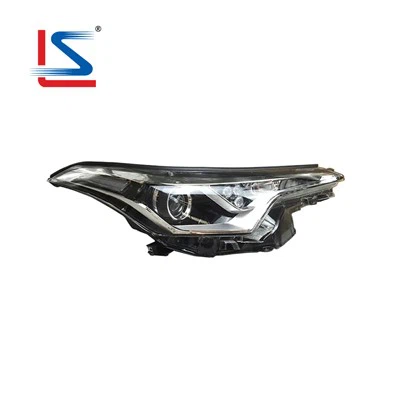
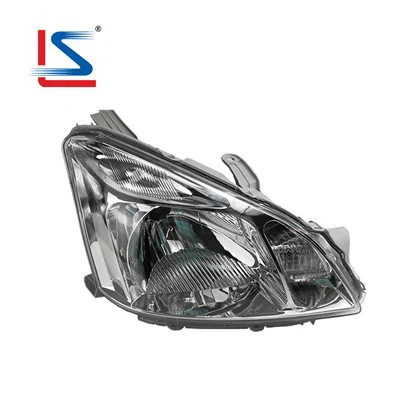
As a 2008 Camry headlights supplier, we also offer a wide range of other Toyota headlights to meet your needs. Check out our selection of TOYOTA PROBOX SUCCEED 2005 Head Lamp NCP58 NCP59 OEM 81110-52720 81150-52710 52-076 Car Headlight, LED Car Head Lamp For Toyota Allion Premio NZT260 ZRT260 2016-2019 20-460 655136 PREMIO HeadLight, and TOYOTA Yaris Vitz Hatchback NCP92 2005-2009 Auto Lamp.
Contact Us for Purchasing and Further Assistance
If you're interested in purchasing 2008 Camry headlights or any other Toyota headlights, or if you have any questions or need further assistance with the installation process, please don't hesitate to contact us. Our team of experts is here to help you find the right headlights for your vehicle and provide you with the support you need.
References
- Toyota 2008 Camry Owner's Manual
- Automotive repair guides and resources