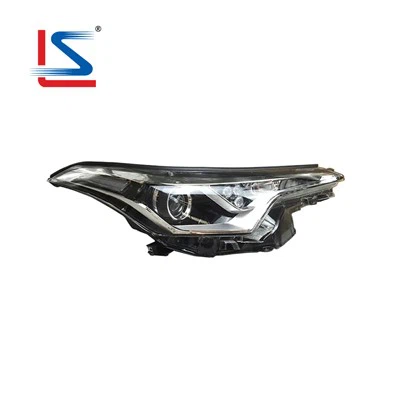
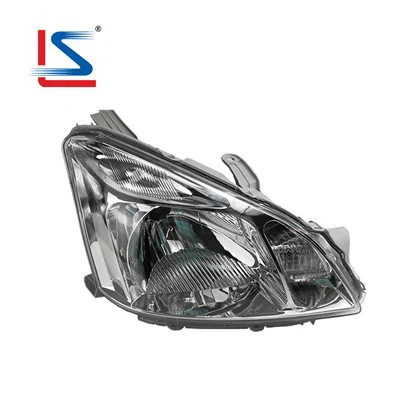
Hey there, fellow car enthusiasts! If you're the proud owner of a 2018 Corolla, you know how important it is to keep your ride in top-notch condition. One often-overlooked aspect of car maintenance is protecting your headlights. That's where headlight protectors come in. In this blog post, I'm gonna walk you through the process of installing a headlight protector on your 2018 Corolla headlights. And by the way, I'm a supplier of 2018 Corolla headlights, so I know a thing or two about this stuff.


Why You Need Headlight Protectors
Before we dive into the installation process, let's talk about why you should even bother with headlight protectors. Your headlights are constantly exposed to all sorts of hazards on the road, like rocks, debris, bugs, and UV rays. Over time, these elements can cause your headlights to become scratched, cloudy, or faded, which not only looks bad but also reduces visibility while driving. Headlight protectors act as a shield, preventing these issues and keeping your headlights looking and performing their best.
What You'll Need
To install a headlight protector on your 2018 Corolla, you'll need the following tools and materials:
- Headlight protector kit (make sure it's specifically designed for the 2018 Corolla)
- Cleaning solution (like rubbing alcohol or a mild soap and water mixture)
- Microfiber cloth
- Squeegee
- Utility knife or scissors
- Heat gun or hair dryer (optional but recommended)
Step 1: Clean the Headlights
The first step in installing a headlight protector is to clean the headlights thoroughly. Use your cleaning solution and microfiber cloth to remove any dirt, grime, or wax from the surface of the headlights. Make sure to dry them completely before moving on to the next step. This will ensure that the protector adheres properly and looks smooth.
Step 2: Prepare the Protector
Take the headlight protector out of the kit and lay it flat on a clean surface. Carefully remove the backing paper from the adhesive side of the protector. Be careful not to touch the adhesive with your fingers, as this can leave oils and dirt that may affect the adhesion.
Step 3: Position the Protector
Now it's time to position the protector on the headlight. Start by aligning it with the edges of the headlight. You may need to trim the protector slightly to fit the shape of your headlights. Use your utility knife or scissors to make any necessary cuts. Once you're happy with the position, gently place the protector on the headlight, starting from one corner and working your way across.
Step 4: Remove Air Bubbles
As you place the protector on the headlight, you'll likely notice some air bubbles trapped between the protector and the headlight. This is normal. To remove the air bubbles, use your squeegee to smooth the protector out from the center towards the edges. Apply firm pressure to push the air bubbles out. If you're having trouble getting rid of all the bubbles, you can use a heat gun or hair dryer to warm up the protector slightly. This will make it more flexible and easier to smooth out.
Step 5: Trim the Excess
Once you've removed all the air bubbles and the protector is firmly in place, use your utility knife or scissors to trim any excess protector around the edges of the headlight. Make sure to cut as close to the edge of the headlight as possible for a clean, professional look.
Step 6: Repeat for the Other Headlight
Now that you've installed the protector on one headlight, repeat the process for the other headlight. Take your time and make sure to follow the same steps to ensure a consistent and professional-looking installation.
Tips and Tricks
- When cleaning the headlights, make sure to use a clean microfiber cloth to avoid scratching the surface.
- If you're using a heat gun or hair dryer, be careful not to overheat the protector, as this can cause it to warp or melt.
- If you're having trouble aligning the protector, you can use masking tape to hold it in place temporarily while you make any adjustments.
- After installing the protectors, give them a few days to fully adhere to the headlights before washing your car or driving in wet conditions.
Other Toyota Headlight Options
If you're interested in other Toyota headlight options, we've got you covered. Check out these great products:
- TOYOTA WISH Headlight Head Lamp 2005 - 2009 OEM 81110 - 68040 81150 - 68040 81170 - 68040
- Toyota HiAce 2010 Headlight Assembly
- TOYOTA PROBOX SUCCEED 2012 2013 2020 Lamp Auto DBE - NCP160V Auto Lamp OEM 8113052J50 8117052J50 PROBOX Headlight
Conclusion
Installing a headlight protector on your 2018 Corolla is a simple and effective way to protect your headlights and keep them looking and performing their best. By following the steps outlined in this blog post, you can easily install the protector yourself and save money on professional installation. And if you're in the market for 2018 Corolla headlights or other Toyota headlight products, don't hesitate to reach out. We're here to help you find the right parts for your car.
If you have any questions or need further assistance with headlight installation or any other car-related issues, feel free to get in touch. We're always happy to chat and help you make the best decisions for your vehicle. Whether you're looking to upgrade your headlights, replace a damaged one, or just need some advice, we've got the expertise and the products to meet your needs. So, don't wait any longer. Contact us today to start the conversation about your car's lighting needs.
References
- Personal experience as a 2018 Corolla headlight supplier
- General knowledge of car maintenance and headlight protection