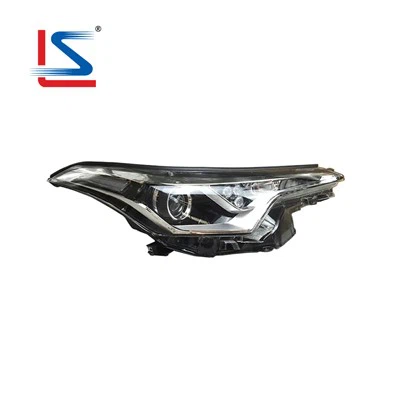
As a trusted supplier of Toyota ist headlights, I often receive inquiries about various customization and installation projects. One of the most unique requests I've encountered is the installation of a projector in a Toyota ist headlight. This process isn't just about enhancing the vehicle's appearance; it significantly improves nighttime visibility and driving safety. In this blog, I'll guide you through the steps of installing a projector in a Toyota ist headlight, sharing insights based on my years of experience in the automotive lighting industry.
Why Install a Projector in Your Toyota ist Headlight?
Before diving into the installation process, it's essential to understand the benefits of adding a projector to your Toyota ist headlight. Projector headlights offer a more focused and intense beam of light compared to traditional reflector headlights. This means better illumination of the road ahead, reducing the strain on your eyes during night drives. Additionally, projectors can enhance the aesthetic appeal of your vehicle, giving it a modern and sophisticated look.
Tools and Materials You'll Need
To successfully install a projector in your Toyota ist headlight, you'll need the following tools and materials:
- Projector kit: Make sure to choose a kit that is compatible with your Toyota ist model.
- Screwdrivers: Various sizes to remove and install screws.
- Trim removal tools: To safely remove the interior trim without damaging it.
- Heat gun or oven: To soften the headlight sealant for disassembly.
- Adhesive: To re - seal the headlight after installation.
- Wire strippers and crimpers: For electrical connections.
- Multimeter: To test electrical connections.
Step 1: Remove the Headlights
The first step in the installation process is to remove the headlights from your Toyota ist. Start by opening the hood and locating the headlight assembly. You'll typically find a series of screws or clips holding the assembly in place. Use the appropriate screwdriver or trim removal tool to remove these fasteners.
Once the fasteners are removed, gently pull the headlight assembly out of the vehicle. Be careful not to damage any of the electrical connectors. Disconnect the electrical connectors by pressing the release tab and pulling them apart.


Step 2: Disassemble the Headlights
With the headlights removed from the vehicle, it's time to disassemble them. Use a heat gun or oven to soften the headlight sealant. If using a heat gun, hold it about 6 - 8 inches away from the headlight and move it in a circular motion to evenly heat the sealant. If using an oven, preheat it to around 200°F (93°C) and place the headlight in the oven for about 5 - 10 minutes.
Once the sealant is soft, use a flat - blade screwdriver or a trim removal tool to carefully separate the headlight lens from the housing. Take your time to avoid cracking the lens or damaging the housing.
Step 3: Prepare the Projector
Before installing the projector, you'll need to prepare it for installation. This may involve adjusting the projector's aim and mounting brackets. Refer to the instructions included with your projector kit for specific guidance.
Make sure the projector is clean and free of any debris. Check the electrical connections on the projector and ensure they are in good condition.
Step 4: Install the Projector
Once the projector is prepared, it's time to install it in the headlight housing. Locate the mounting holes in the housing that are designed for the projector. Place the projector in the mounting holes and secure it using the provided screws or brackets.
Next, connect the electrical wires from the projector to the appropriate connectors in the headlight housing. Use wire strippers to expose the ends of the wires and crimp connectors to join them together. Make sure the connections are secure and insulated to prevent any electrical shorts.
Step 5: Reassemble the Headlights
After the projector is installed, it's time to reassemble the headlights. Apply a thin layer of adhesive to the mating surfaces of the headlight lens and housing. Carefully align the lens with the housing and press them together firmly. Use clamps or tape to hold the lens in place while the adhesive dries.
Once the adhesive has dried, use a heat gun to re - heat the sealant slightly to ensure a tight seal. This will help prevent water and moisture from entering the headlight.
Step 6: Reinstall the Headlights
With the headlights reassembled, it's time to reinstall them in the vehicle. Connect the electrical connectors to the headlight assembly and carefully place the assembly back into the vehicle. Secure the assembly using the screws or clips that you removed earlier.
Step 7: Test the Projector
Before closing the hood, it's important to test the projector to ensure it's working properly. Turn on the vehicle's headlights and check the beam pattern. The projector should produce a focused and intense beam of light. If the beam pattern is off, you may need to adjust the projector's aim.
Additional Considerations
- Legal requirements: Before installing a projector in your Toyota ist headlight, make sure to check your local laws and regulations regarding aftermarket lighting modifications. Some areas have strict rules about the type and brightness of headlights that are allowed on public roads.
- Warranty: Installing a projector in your headlight may void the vehicle's warranty. Check with your vehicle manufacturer or dealership before making any modifications.
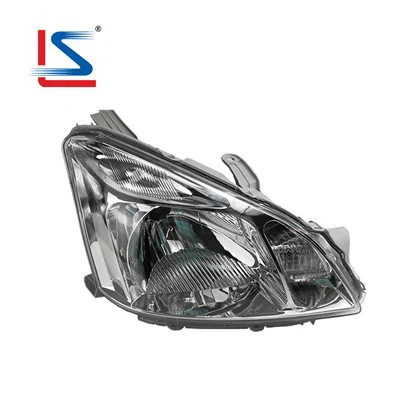
Explore Our Other Toyota Headlight Products
If you're interested in other Toyota headlight products, we offer a wide range of high - quality options. Check out our TOYOTA PREMIO NZT260 2008 Headlight 20 - 444 Car Front Lamp, Toyota RAV4 2001 Headlight Assembly, and Toyota Axio / Fielder 2016 - 2021 Sedan Headlamp Assembly. These products are designed to meet the highest standards of quality and performance.
Contact Us for Purchase and Consultation
If you're considering installing a projector in your Toyota ist headlight or are interested in any of our other Toyota headlight products, we're here to help. Our team of experts can provide you with detailed information, answer your questions, and assist you in making the right choice for your vehicle. Whether you're a DIY enthusiast or a professional mechanic, we have the products and knowledge to support your project. Reach out to us to start the conversation and explore how we can enhance your Toyota's lighting system.
References
- Automotive Lighting Handbook, Second Edition, Edited by Helmut König
- How to Upgrade Your Car's Headlights, Popular Mechanics