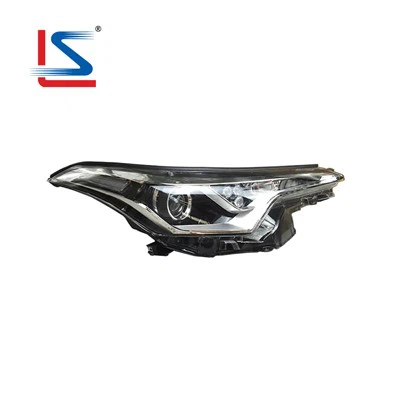
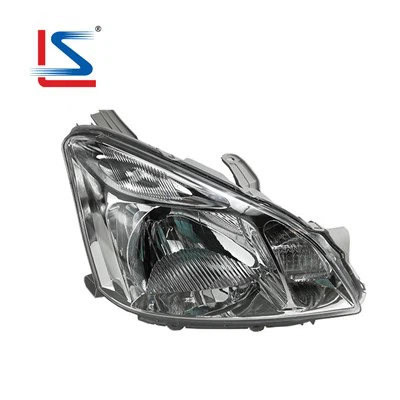
Hey there, fellow car enthusiasts! I'm a supplier of 2008 Camry headlights, and I've seen my fair share of wiring harness issues. Replacing the wiring harness of your 2008 Camry headlights might seem like a daunting task, but with the right guidance, it can be a breeze. In this blog post, I'll walk you through the process step by step, so you can get your headlights shining bright again.
Why Replace the Wiring Harness?
Before we dive into the replacement process, let's talk about why you might need to replace the wiring harness in the first place. Over time, the wiring harness in your headlights can wear out due to factors like heat, moisture, and vibration. This can lead to a variety of problems, such as dim or flickering headlights, or even complete headlight failure. By replacing the wiring harness, you can ensure that your headlights are getting a reliable electrical connection, which will improve their performance and lifespan.
Tools and Materials You'll Need
- Socket wrench set
- Wire strippers
- Electrical tape
- New wiring harness compatible with 2008 Camry headlights
- Safety glasses and gloves
Step 1: Prepare Your Vehicle
First things first, make sure your car is parked on a flat surface and the engine is turned off. Pop the hood and locate the battery. Disconnect the negative terminal of the battery to prevent any electrical shocks or short circuits while you're working on the wiring harness. It's a simple step, but it can save you a lot of trouble down the road.
Step 2: Remove the Headlight Assembly
Now it's time to get to work on the headlights. Open the hood and find the headlight assembly. You'll usually see a few bolts or clips holding it in place. Use your socket wrench to remove these fasteners. Once they're out, gently pull the headlight assembly away from the car. Be careful not to tug too hard, as there might still be some wiring connected to it.


Step 3: Disconnect the Old Wiring Harness
Once you've removed the headlight assembly, you'll see the old wiring harness attached to it. Look for the connector that joins the harness to the headlight. There might be a locking tab or clip that you need to release. Press it down or slide it aside, and then gently pull the connector apart. You might also need to remove any zip ties or clips that are holding the harness in place.
Step 4: Install the New Wiring Harness
Take your new wiring harness and connect it to the headlight in the same way you disconnected the old one. Make sure the connector fits snugly and the locking tab or clip is secure. Route the new harness along the same path as the old one, using zip ties or clips to keep it in place. This will help prevent any loose wires from getting in the way or causing problems later on.
Step 5: Reconnect the Headlight Assembly
With the new wiring harness installed, it's time to put the headlight assembly back in place. Line it up with the mounting holes on the car and insert the bolts or clips. Tighten them with your socket wrench, but don't overdo it. You just want them to be secure enough to hold the headlight in place.
Step 6: Reconnect the Battery
Now that the headlight assembly is back in place, it's time to reconnect the battery. Attach the negative terminal to the battery and make sure it's tightened down. This will restore power to your car's electrical system.
Step 7: Test the Headlights
Before you close the hood, it's important to test the headlights to make sure they're working properly. Turn on your car's ignition and switch on the headlights. Check to see if both headlights are shining brightly and evenly. If you notice any issues, such as dim or flickering lights, double-check your connections and make sure the wiring harness is installed correctly.
Tips and Tricks
- If you're having trouble removing the old wiring harness, try using a little bit of lubricant to loosen any stuck connectors.
- Make sure to label the wires on the old wiring harness before you disconnect them. This will make it easier to connect the new harness correctly.
- If you're not comfortable working on your car's electrical system, it's always a good idea to consult a professional mechanic.
Other Toyota Headlight Options
If you're interested in other Toyota headlight models, we've got you covered. Check out these links for more information:
- TOYOTA YARIS SEDAN VIOS 2007 AUTO HEADLIGHT HEAD LAMP OEM 81130-52770 81170-52760 212-11L4 Yaris Headlight
- TOYOTA LAND CRUISER FJ200 2021 Headlight Halogen & Xenon Headlight
- Toyota Echo Yaris 2003 2004 2005 Head Lamp OEM 81130-52300 81170-52300 81130-52320 81170-52320 Yaris Headlight
Conclusion
Replacing the wiring harness of your 2008 Camry headlights is a relatively straightforward process that can make a big difference in the performance of your headlights. By following these steps and using the right tools and materials, you can get the job done quickly and easily. If you have any questions or need more information, don't hesitate to reach out. We're here to help you keep your car's headlights in top shape.
If you're interested in purchasing a new wiring harness or any other headlight parts for your 2008 Camry, feel free to contact us for a quote. We offer high-quality products at competitive prices, and our team of experts is always ready to assist you with your purchase. Let's get your headlights shining bright again!
References
- "Toyota Camry Repair Manual 2008"
- Personal experience as a 2008 Camry headlights supplier